Hosting yet another Star Wars birthday party
/Despite having already hosted three Star Wars birthday parties, my boys' love of Jedi, Sith and the Force remains strong. As such, as my Ol approaches 6, we celebrated with a fourth Star Wars (SW) shindig.
You might recall my previous summation, Hosting a Star Wars Party For a Seven Year Old, which detailed my first foray into SW celebrations. Great party, and I've built on that foundation since.
To avoid boredom and repetition, I've upped the ante for each party: different invitations, a variety of decorations, new saber hilts and never the same cake twice.
Whether you're hosting your first SW party or your fourth, here are some more creative ideas to consider.
Light Saber invitations
I saw a picture of these on Pinterest and decided to recreate.
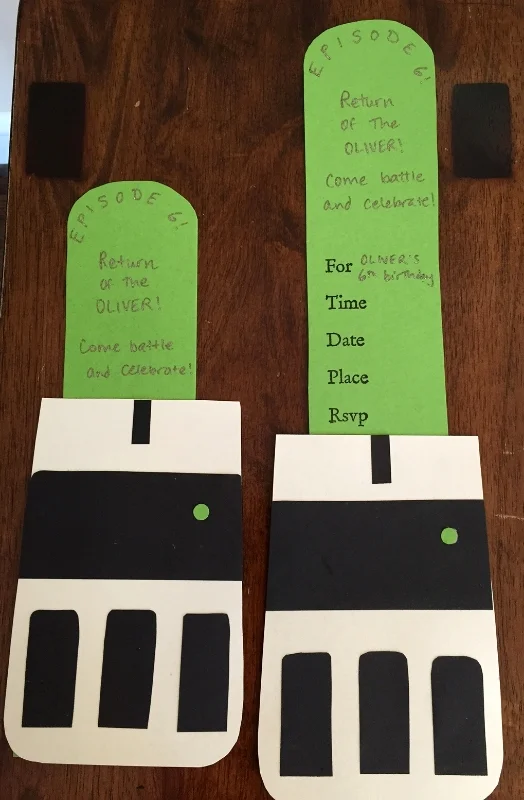
moveable Light Saber invitations
I like them because they move which is a fun feature and because they still fit in a standard envelope. I made cardboard models for all the pieces (there were about seven), traced those onto colored cardstock, glued things together and bought a party info stamp to minimize what I needed to write.
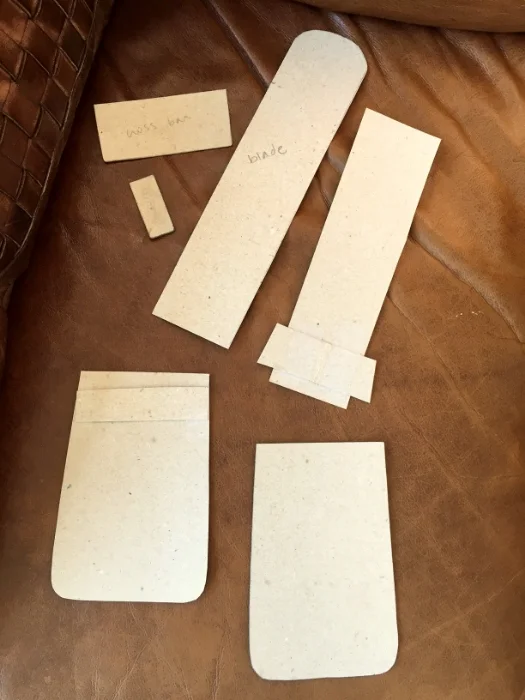
Cardboard models of each piece; makes tracing convenient.
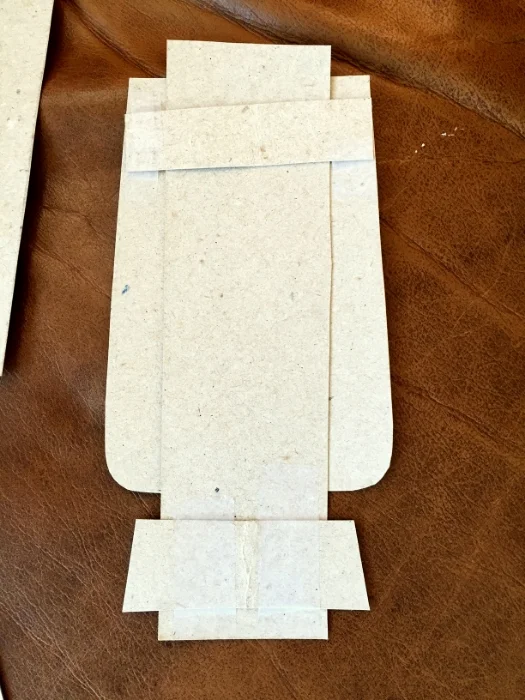
The "mechanism"
I used a sparkly black pen to write on the green saber blades, and a silver Sharpie to address the black envelopes. Paper Source was my source for all supplies.
Star Wars decorations
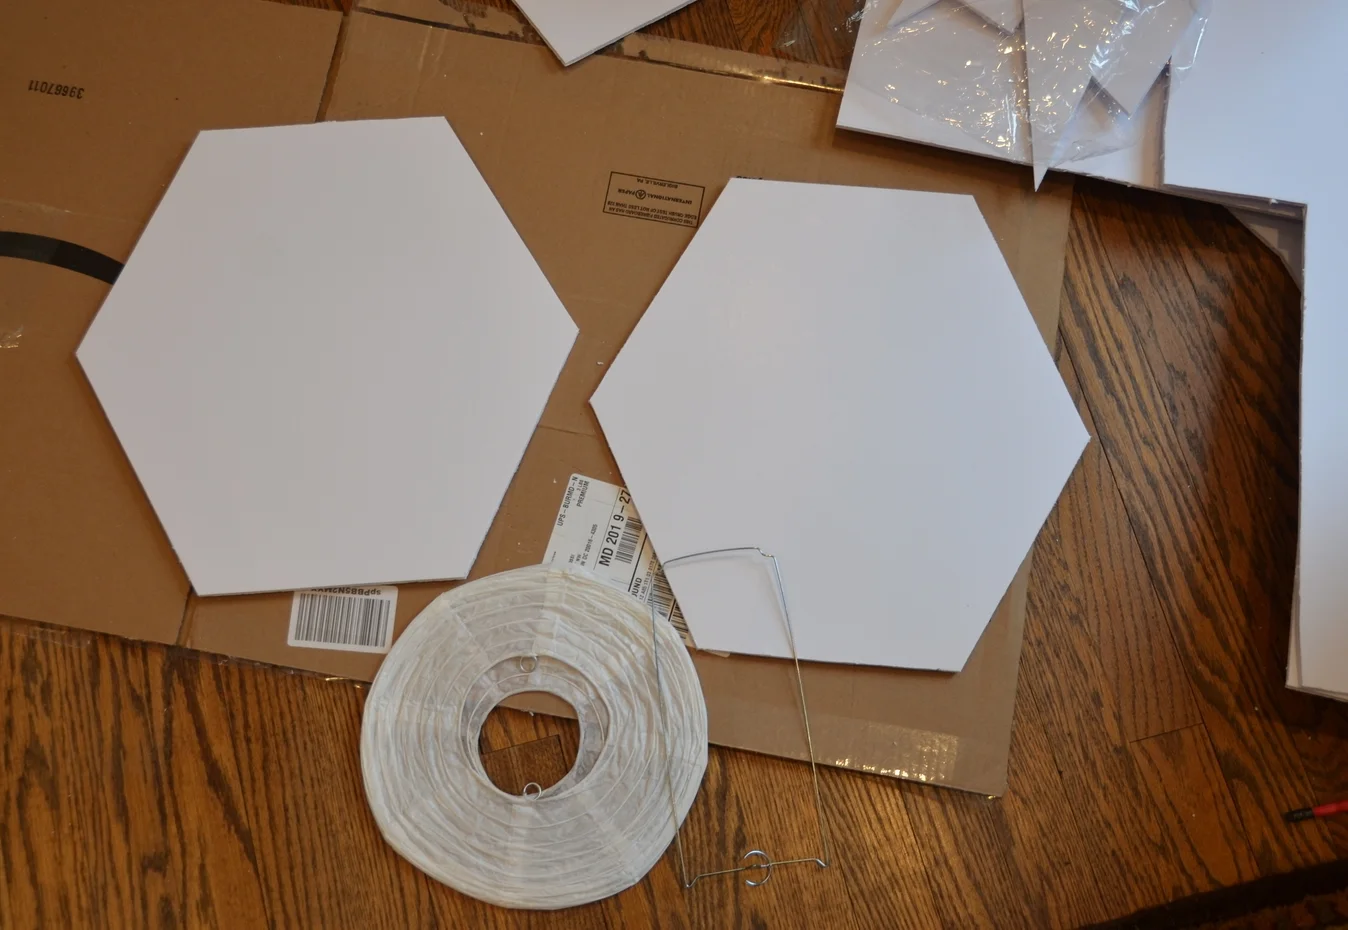
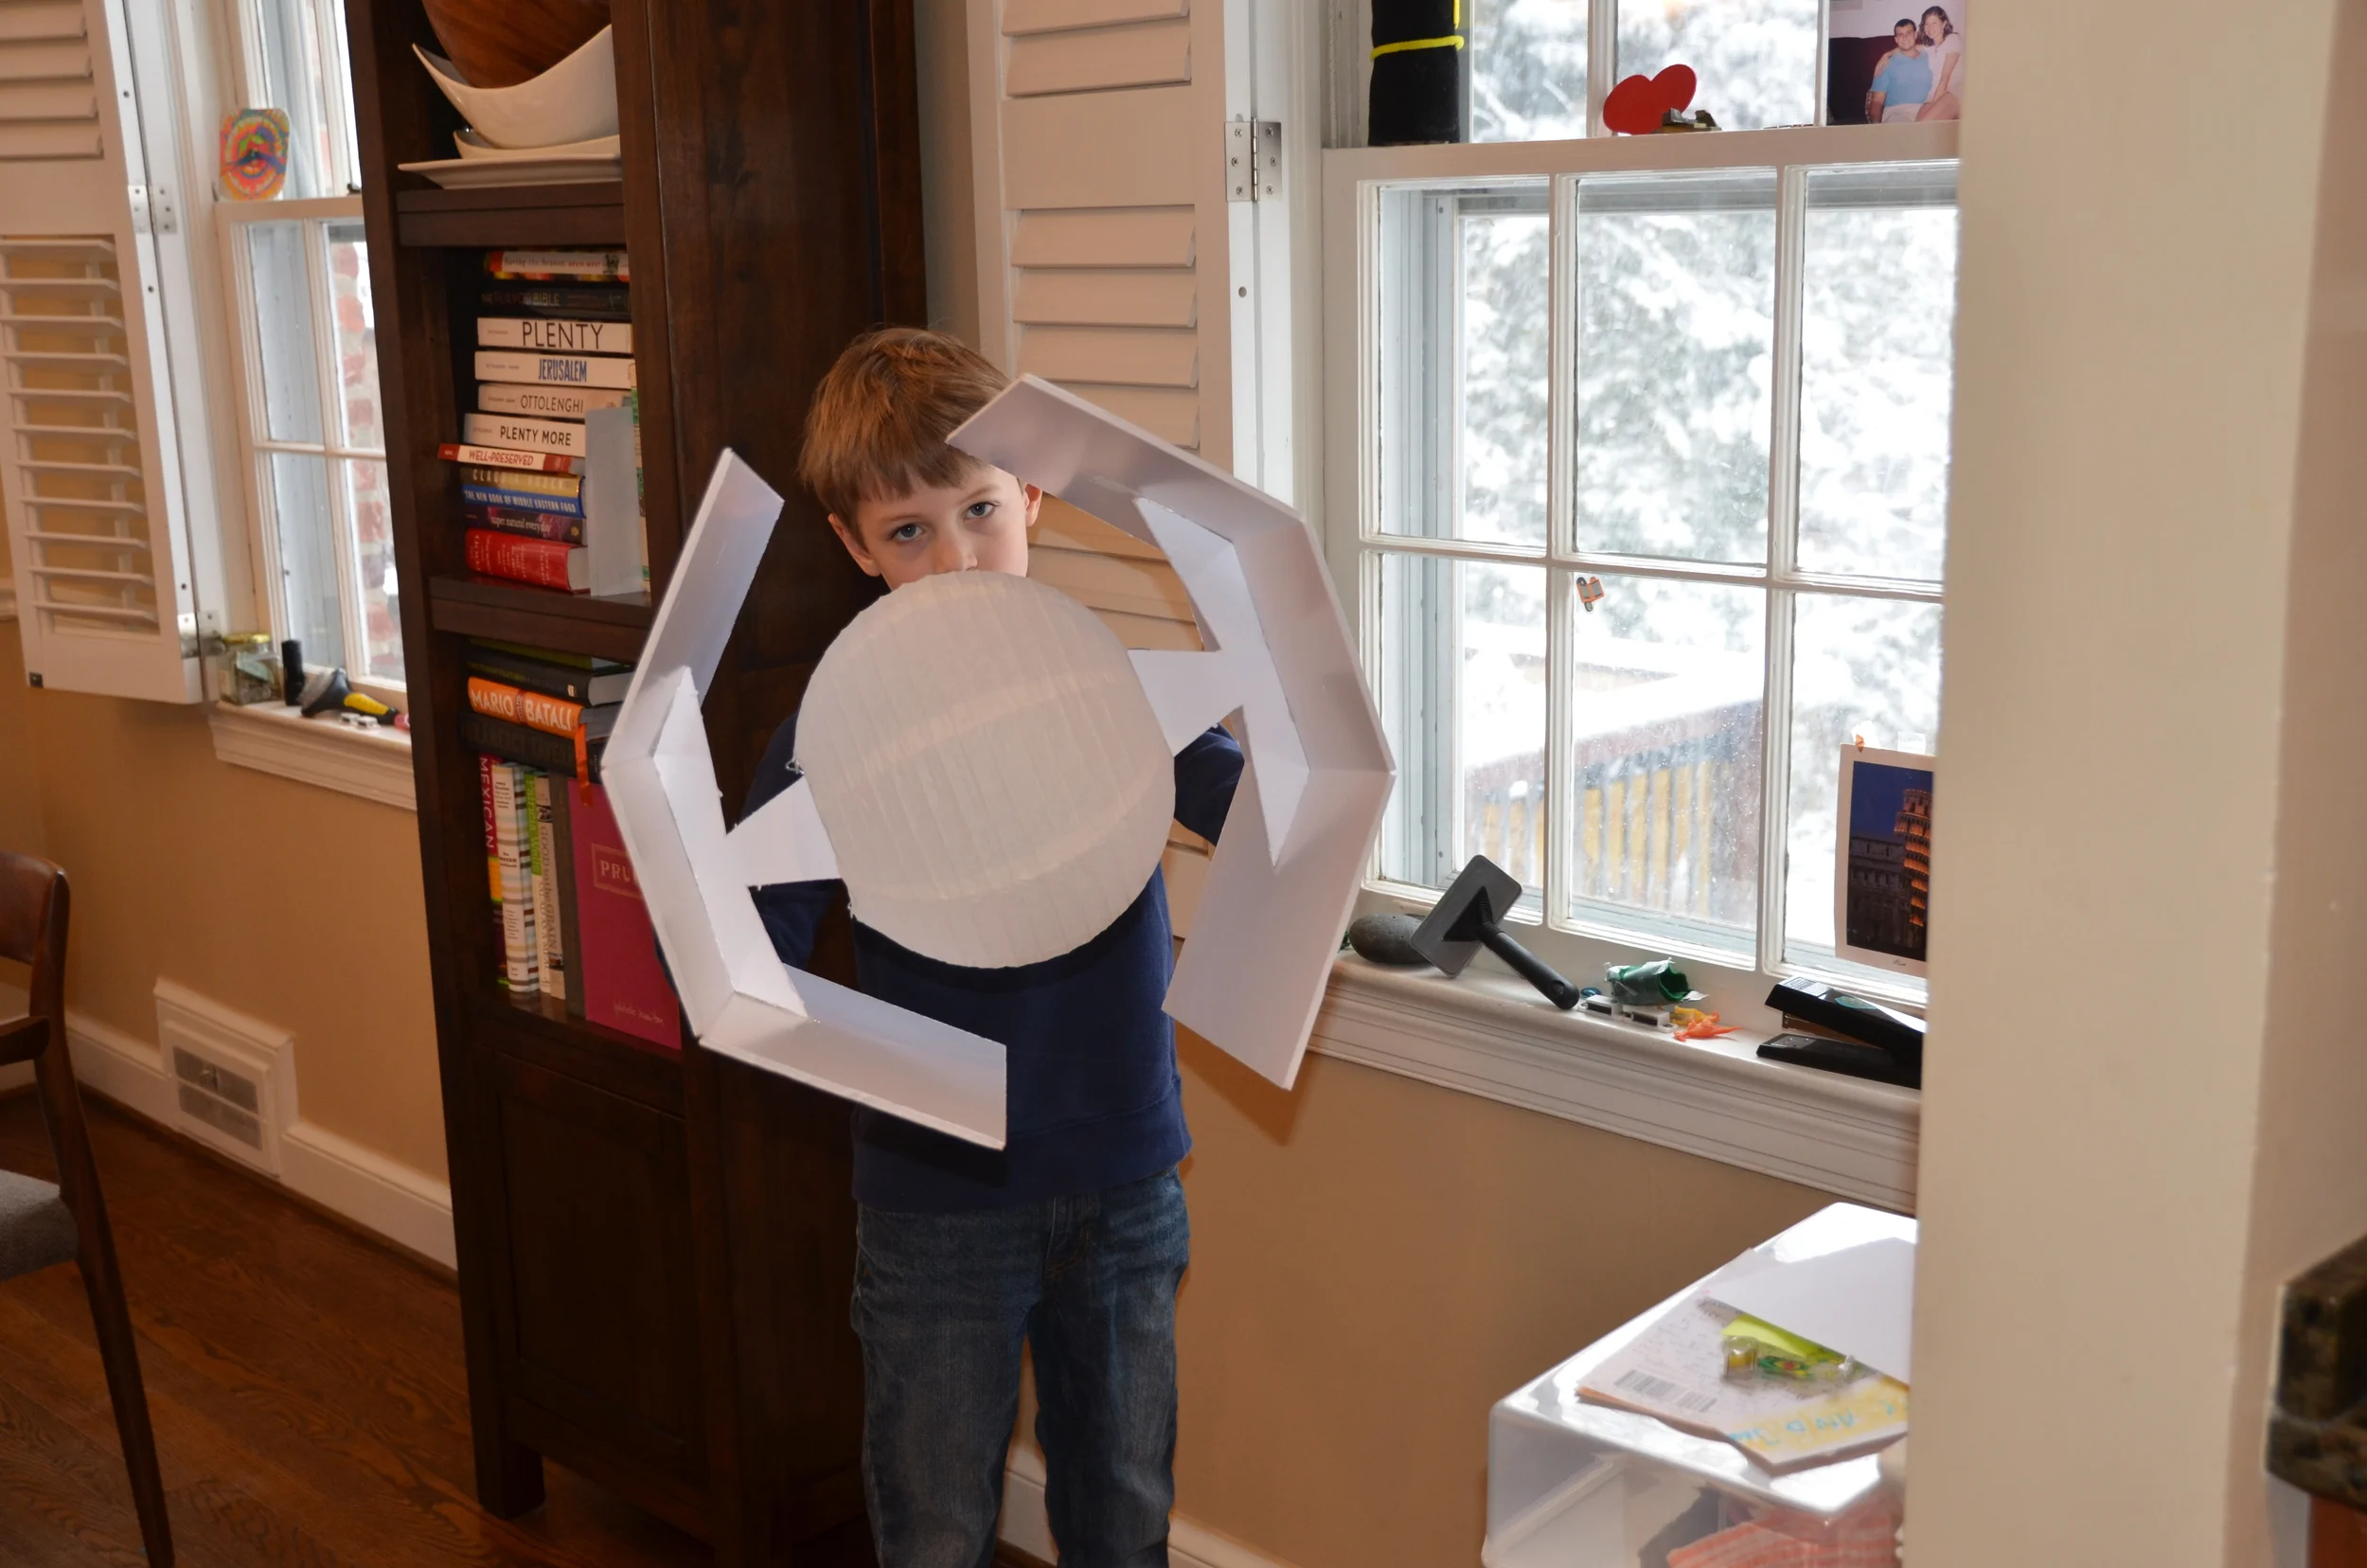
From Amazon, we bought a bulk box of 20" x 30" foam core boards. I wanted these to make the wings for two TIE fighters: the standard TIE and Darth Vader's personal plane. I also bought some 10" paper lanterns to use as the cockpits for the planes and a 16" paper lantern to make the Death Star.
One foam core board divided in half, width-wise, yielded two 15" x 20" boards which I scored and had Tom bend and secure into the shape of Darth's TIE wings. Recreating the standard TIE's hexagonal, but not uniformly so, wings took about two-thirds of one large board, so the standard TIE actually required two boards.
crafting a standard TIE fighter
That was fine because we used the excess to create the supports that held the paper lanterns to the wings and also kept Darth's bent TIE wings in place. We just hot-glued all that together.

It took nearly two cans of matte gray spray paint to cover the planes and Death Star completely. T cut a thin dowel into seven pieces, spray-painted them bright green and finagled them together with hot glue and a prayer to make the laser burst, death ray coming from the Death Star. The depression was made by gluing a small Whole Foods plastic container into the hole of the paper lantern.
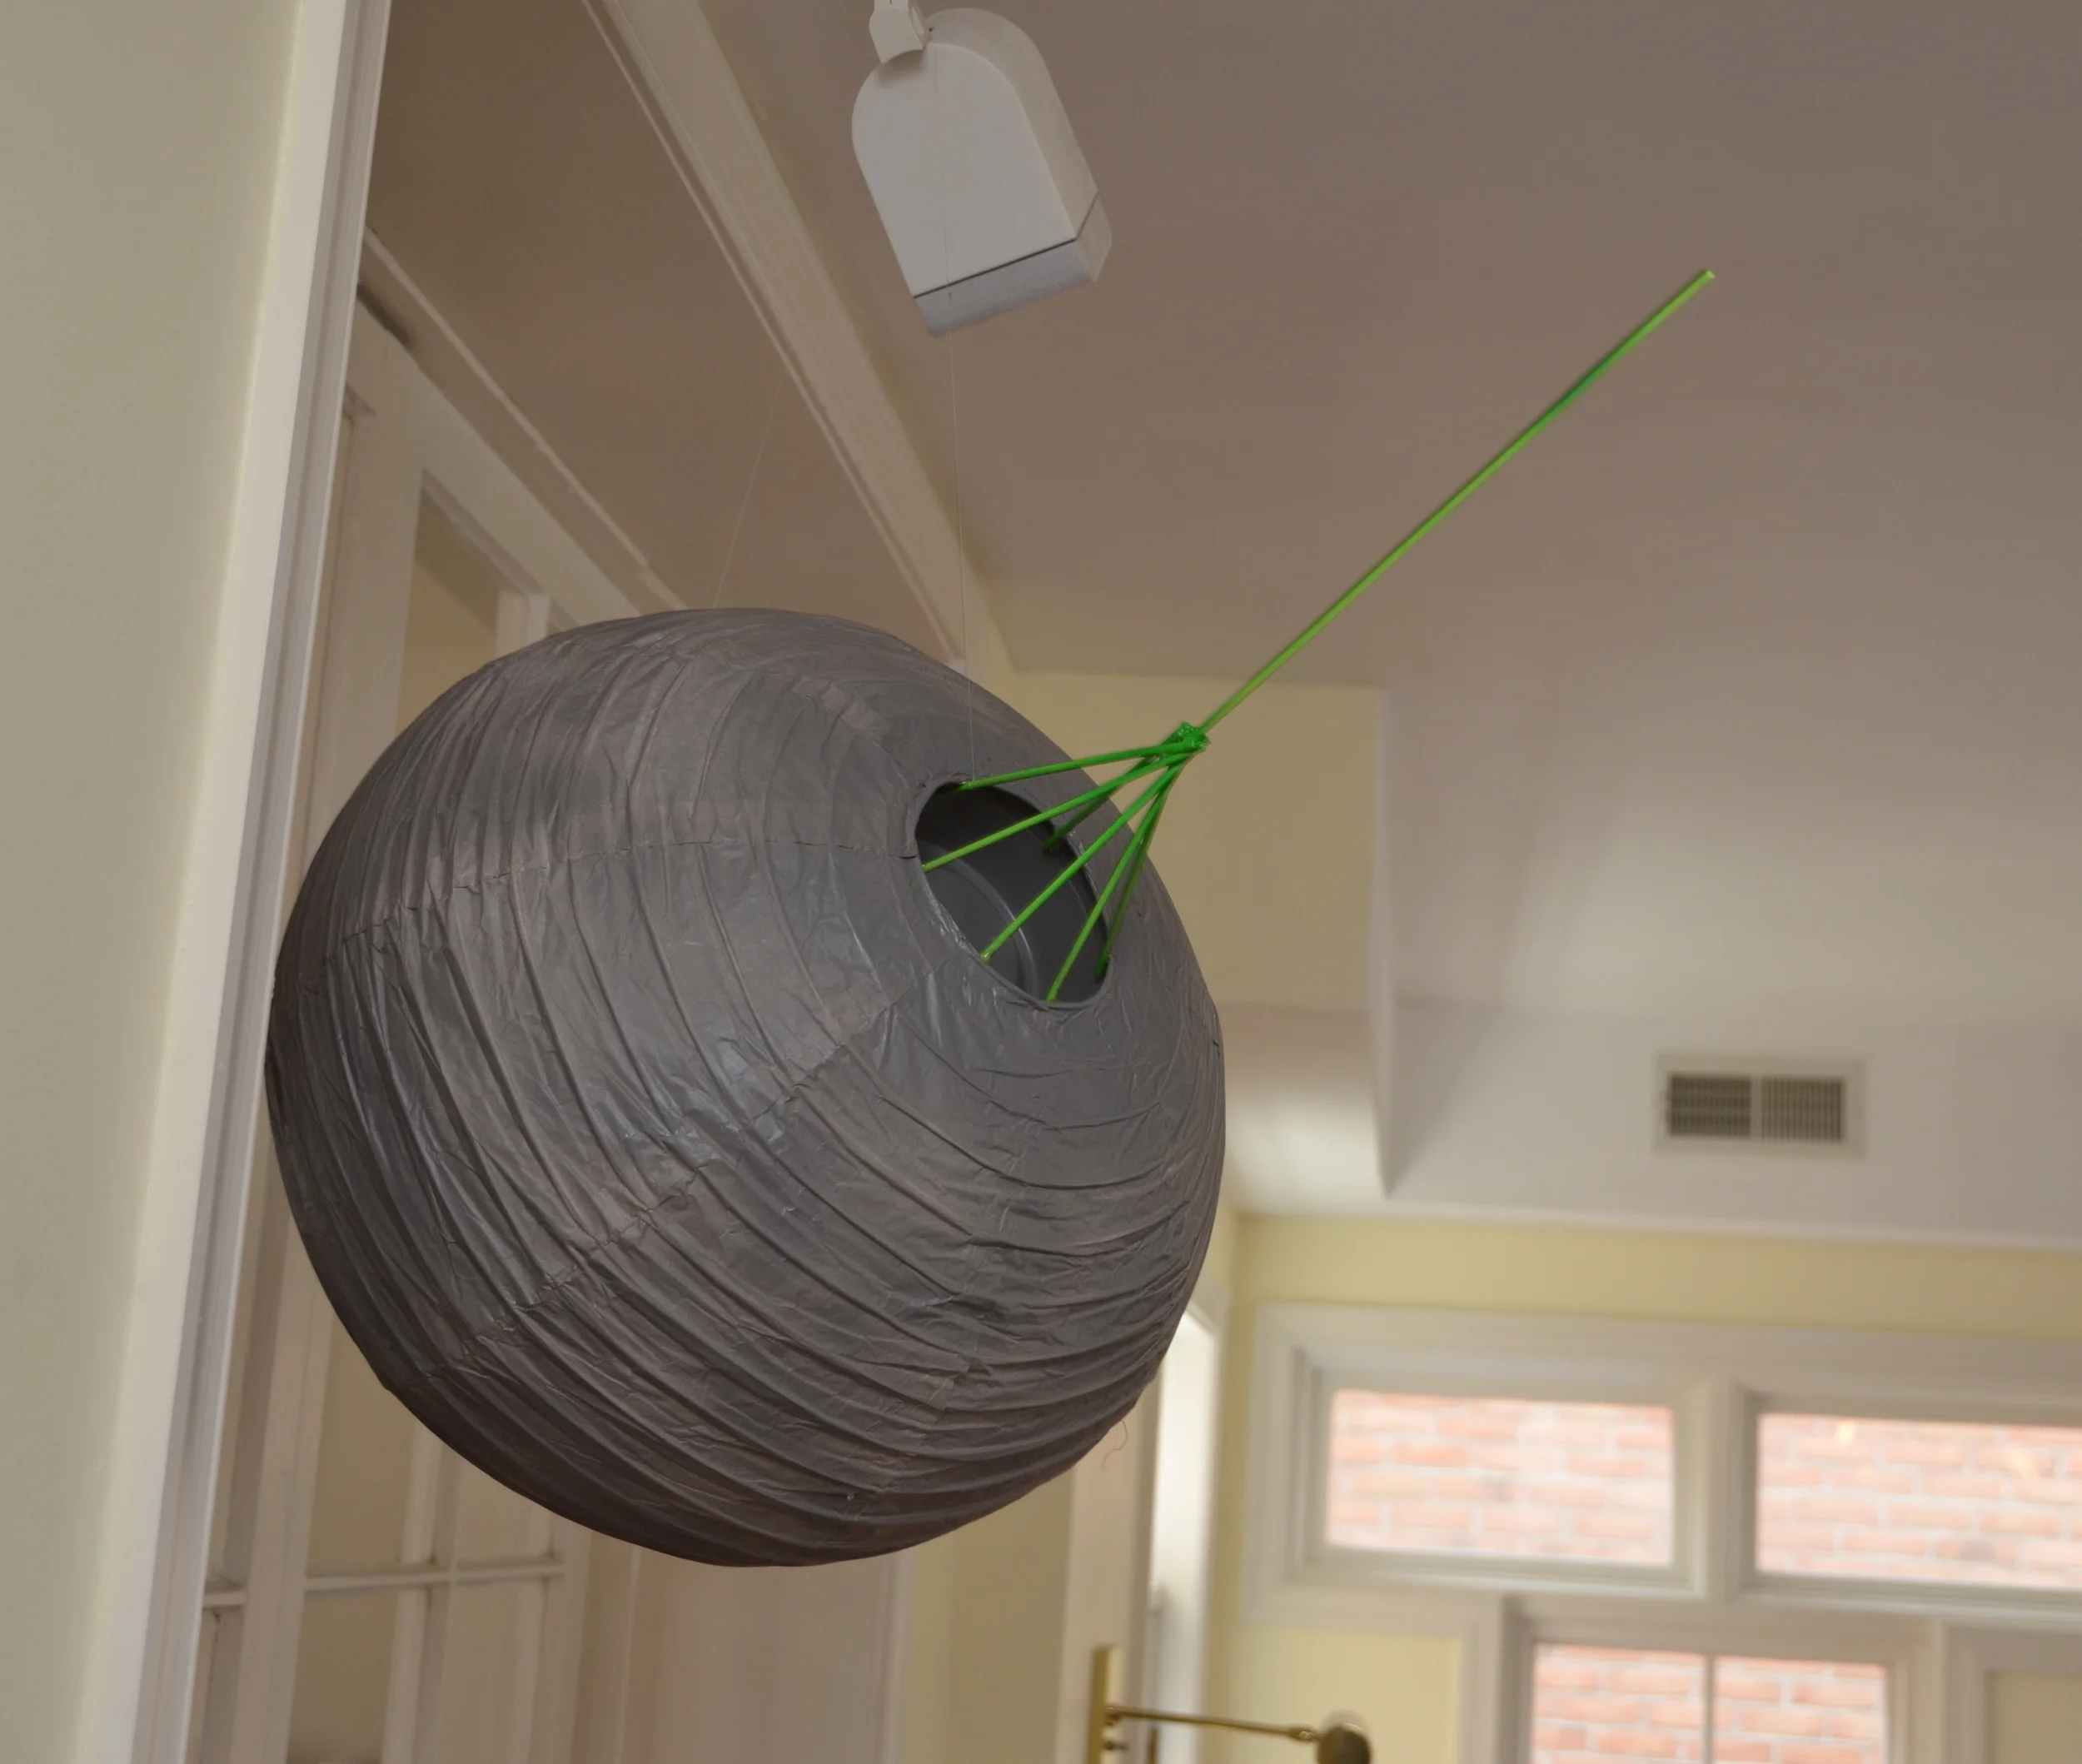
16" paper lantern painted gray; plastic Whole Foods container glued into the lantern hole and attached to a wooden, painted-green array of wooden dowels.
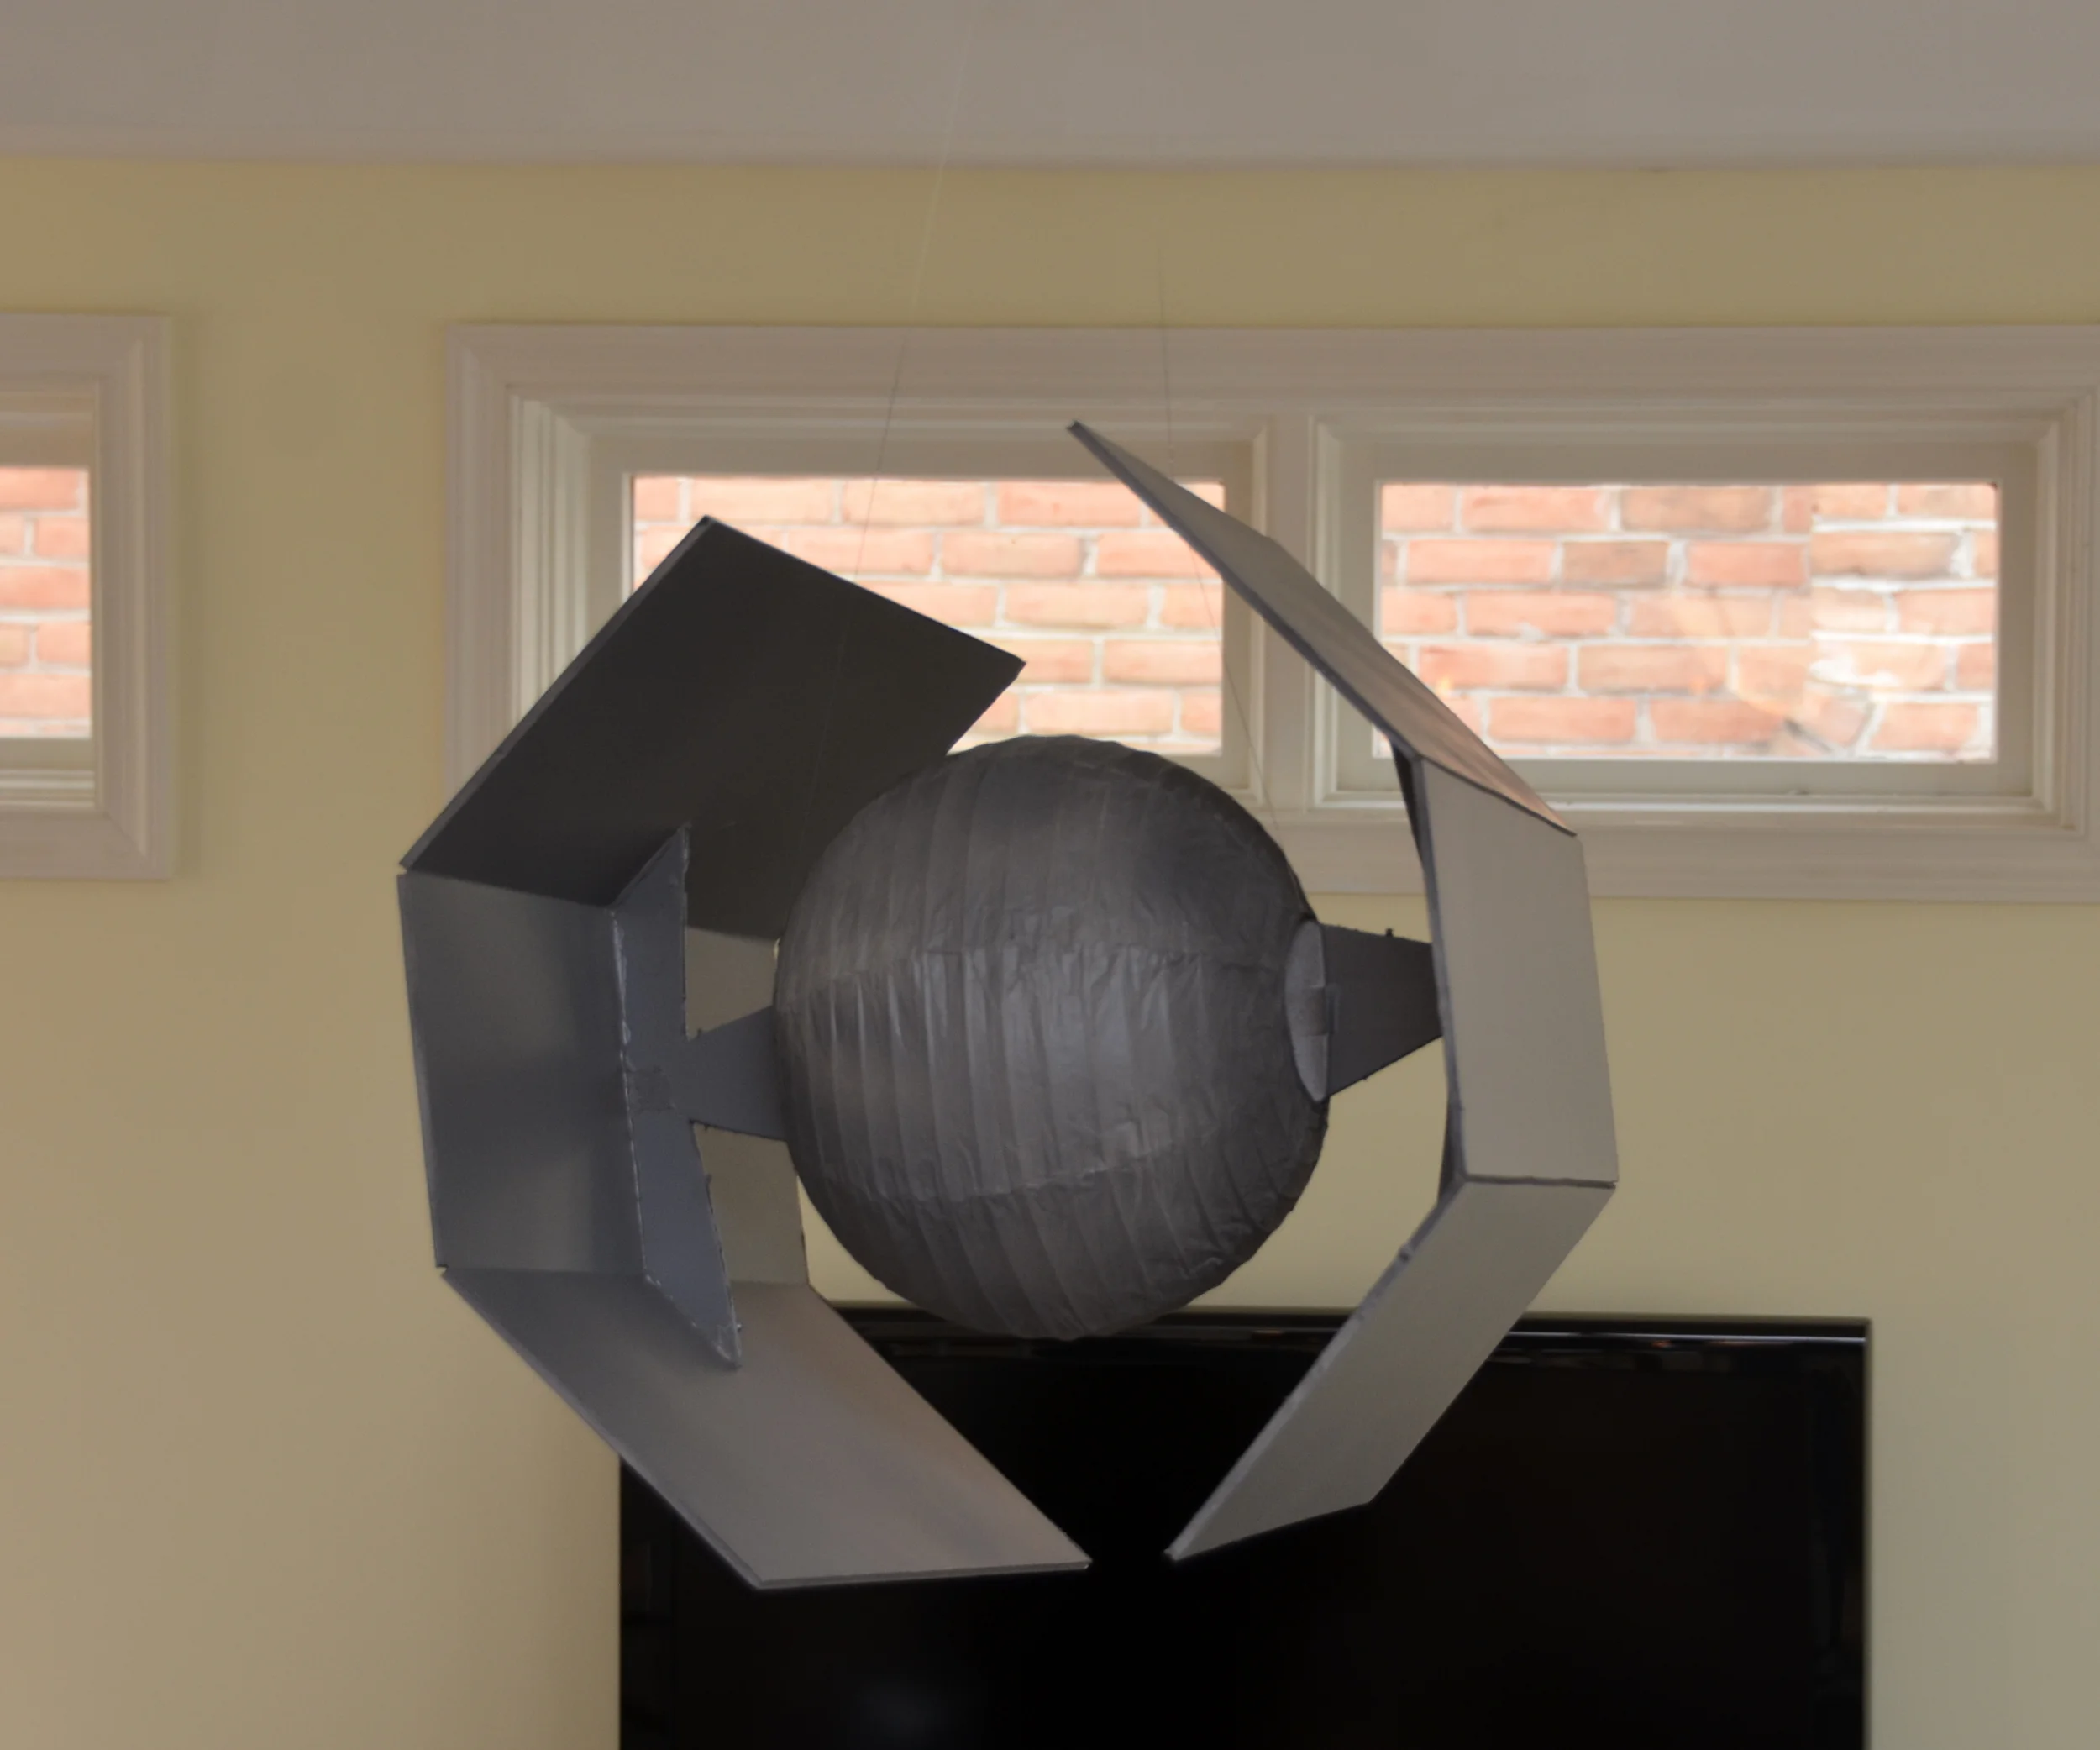
Vader's TIE fighter
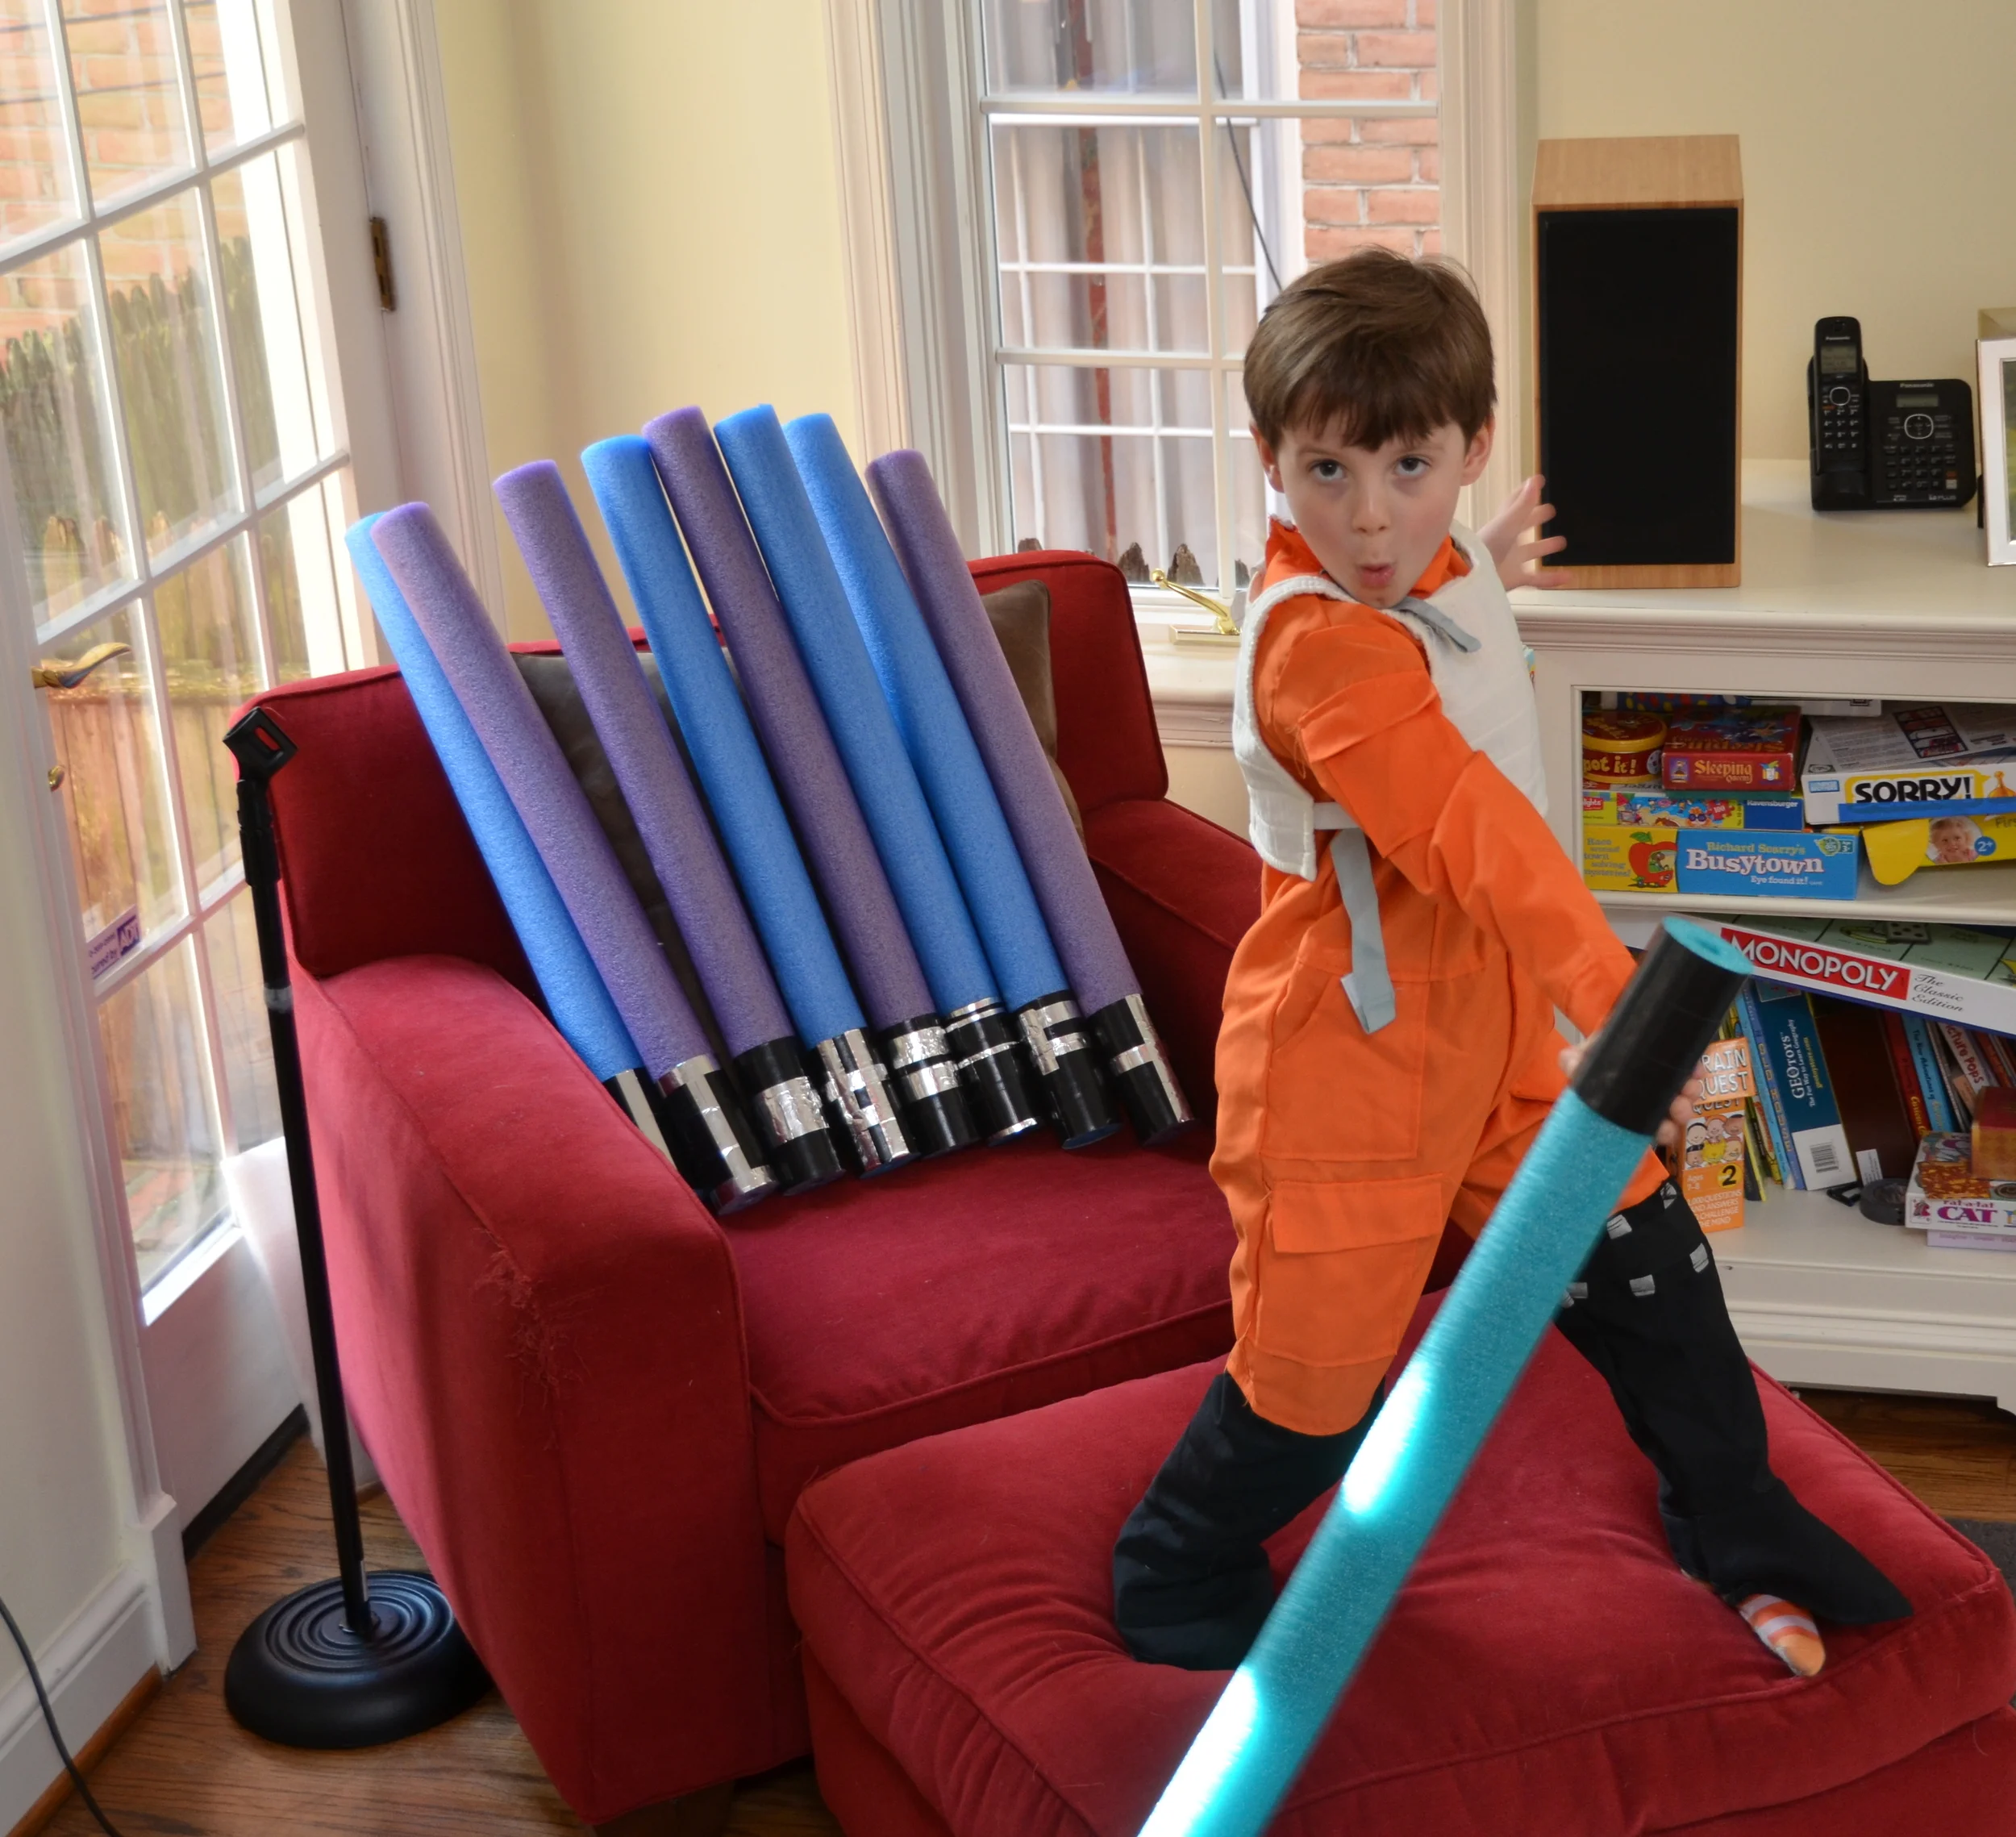
Light Sabers
You've seen them before: swim noodles cut in half, hilt wrapped in duct tape, and then detailed with strips of foil tape. These are always a hit, and you can rest assured that the kids will expend great deals of energy beating each other up without really harming one another.
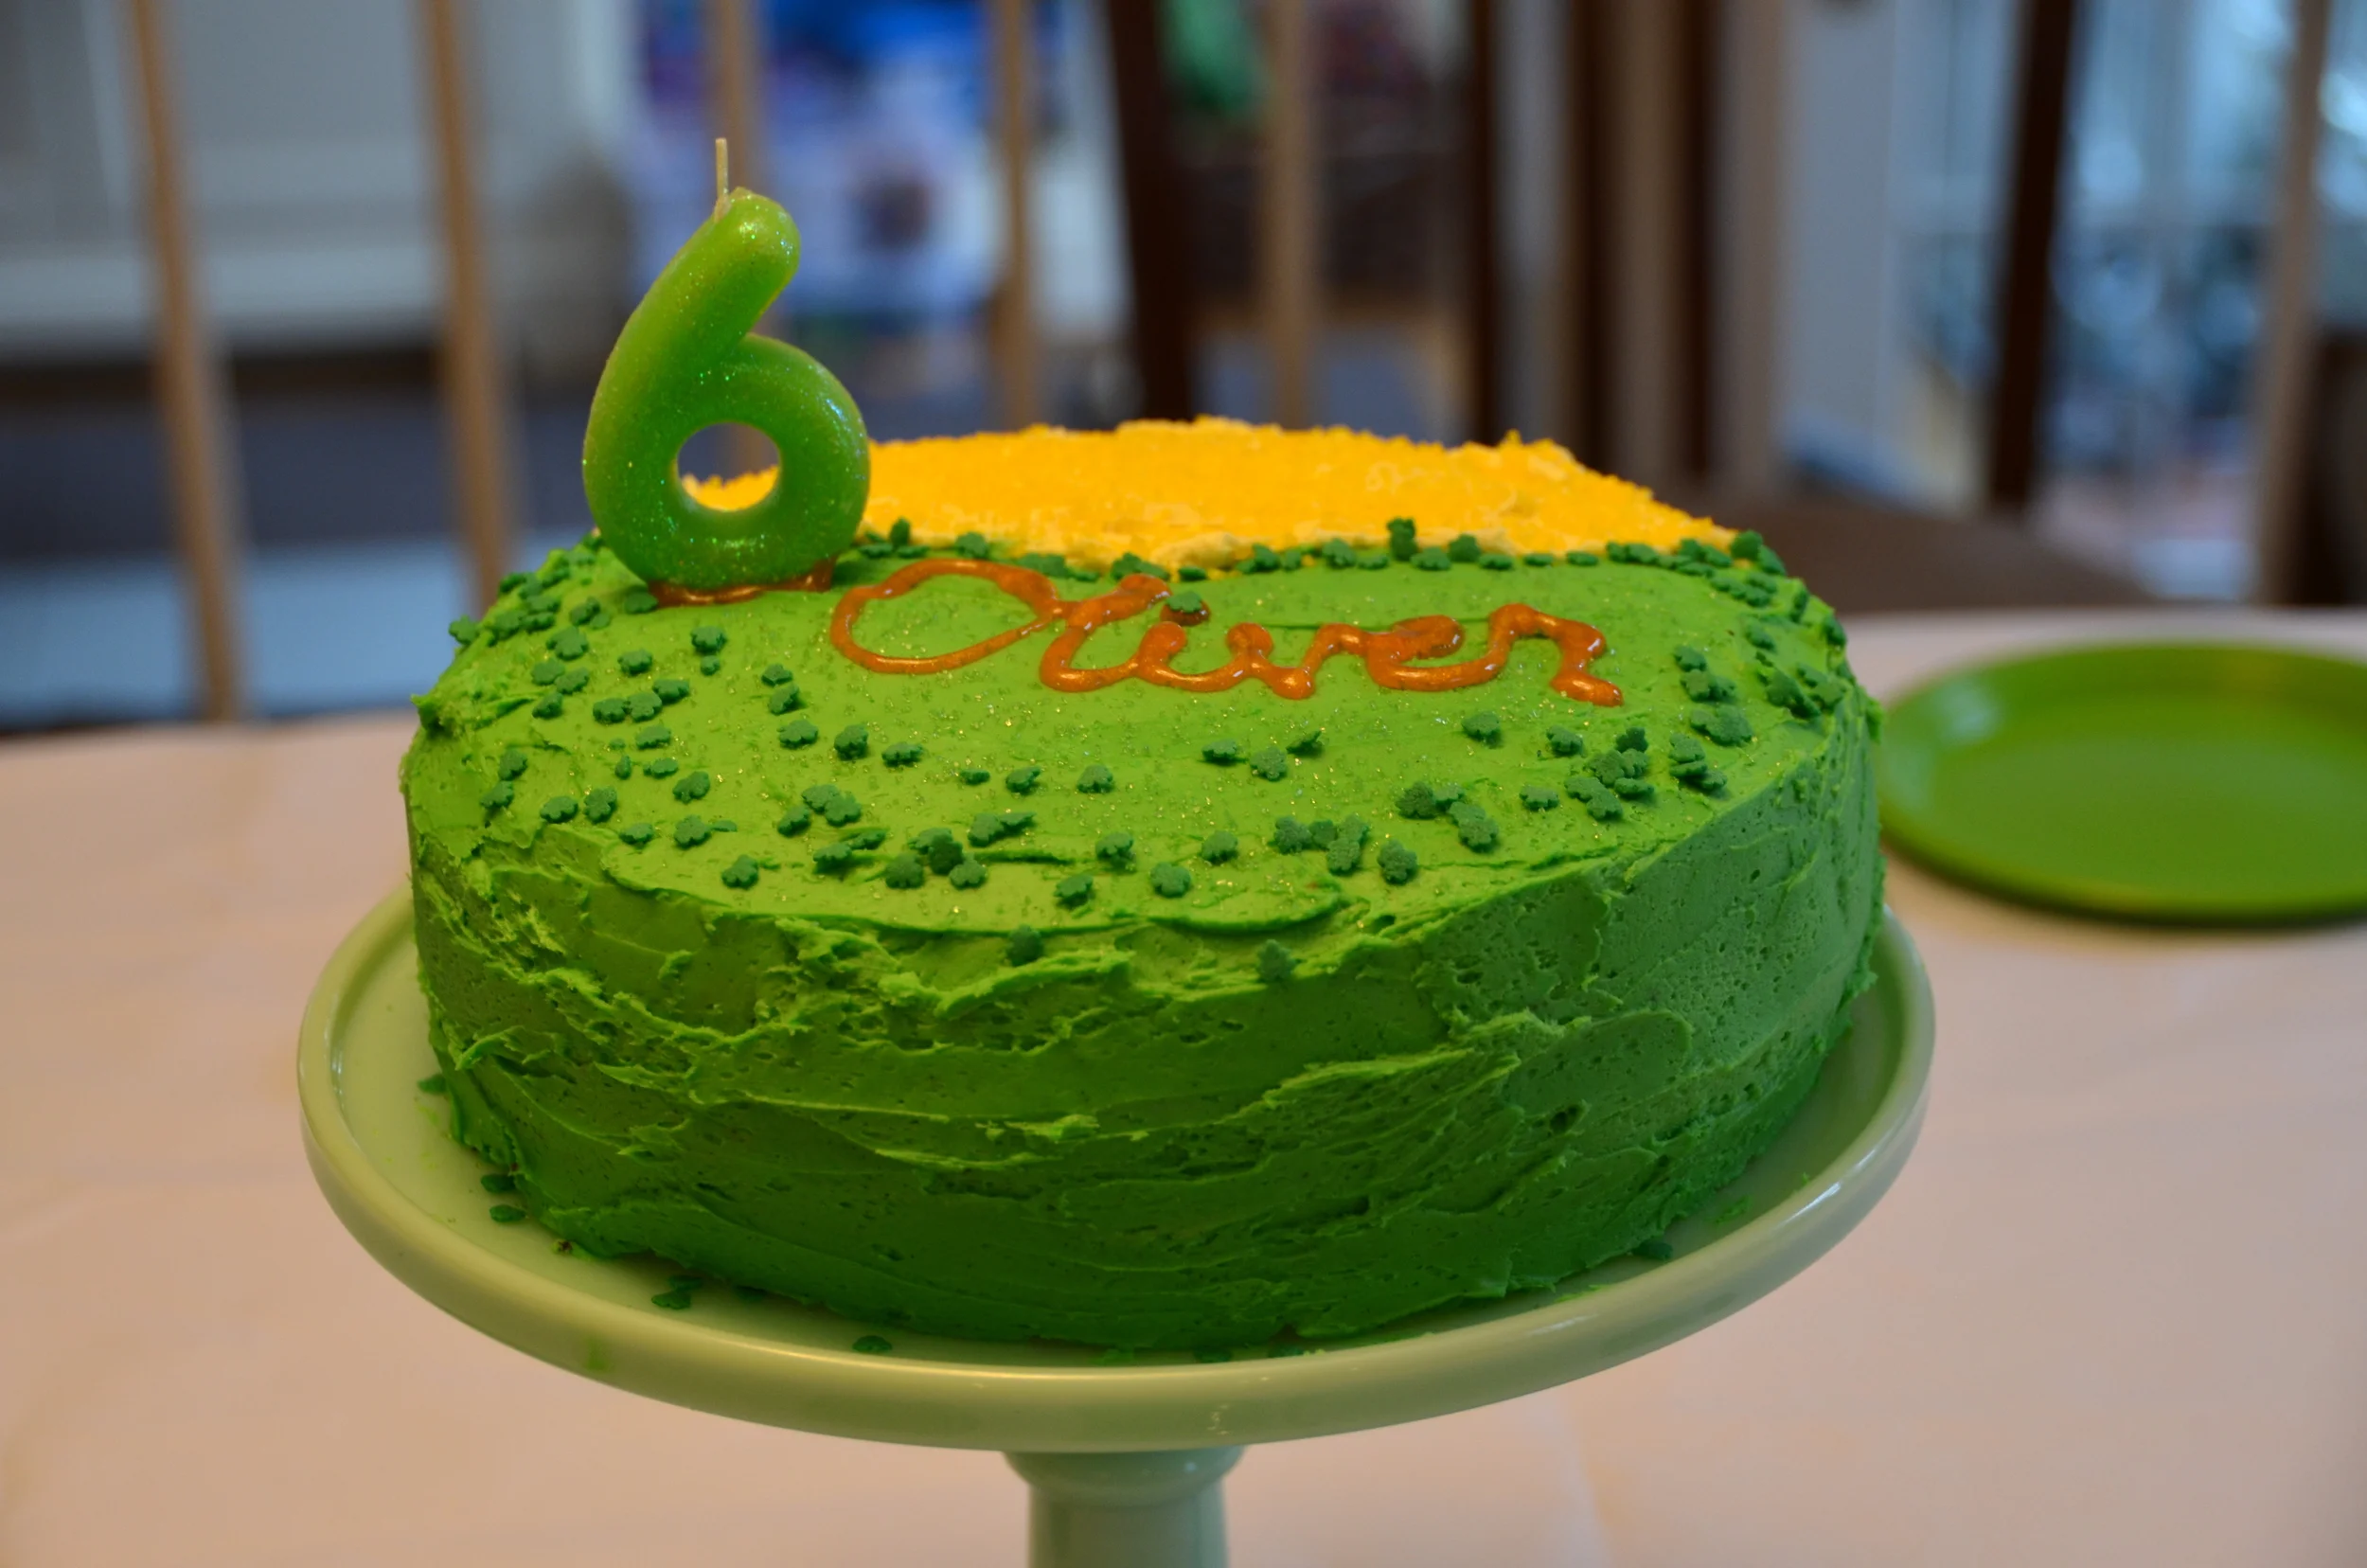
Now, because I simply did not feel inspired to come up with yet another, totally different Star Wars-themed cake, I embraced Oliver's St. Patty's Day birthday and crafted him a pot of gold. He was thrilled!
How is he about to be six??